

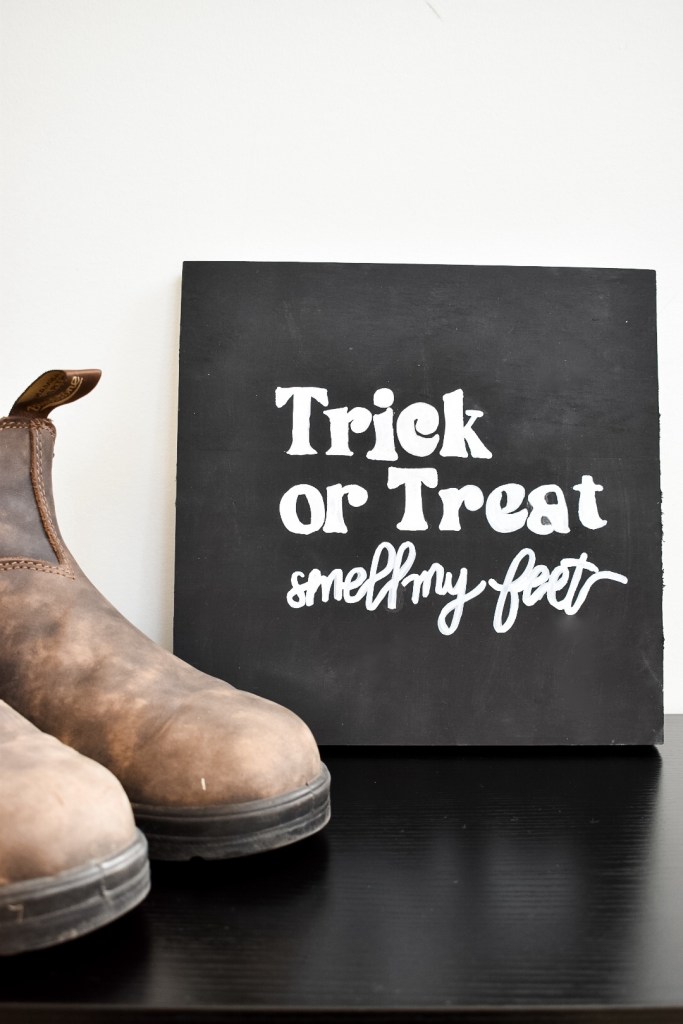
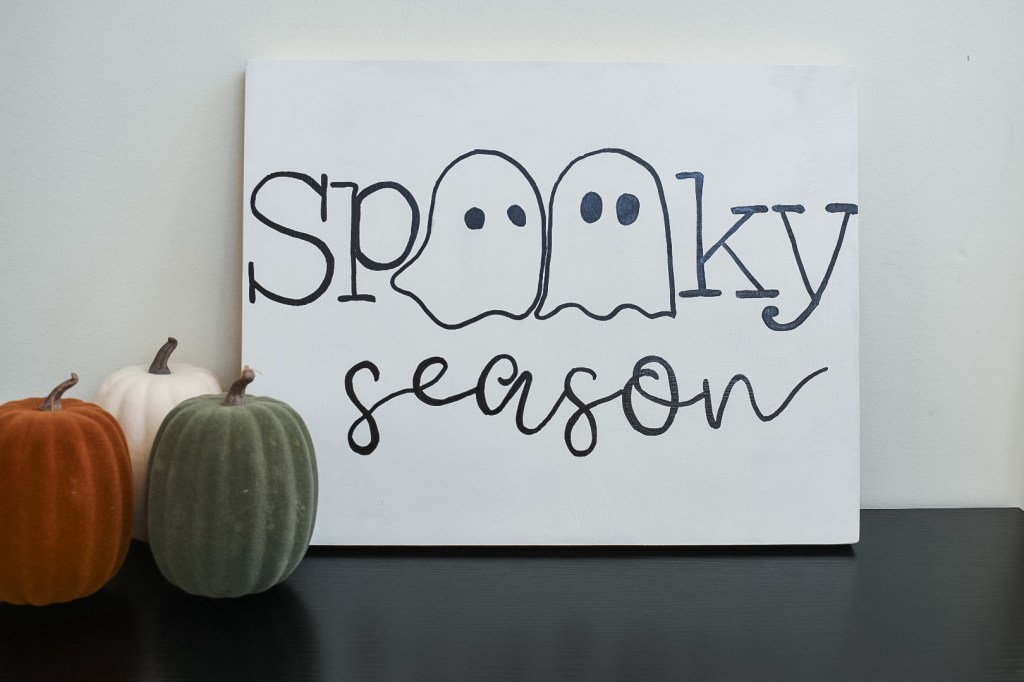
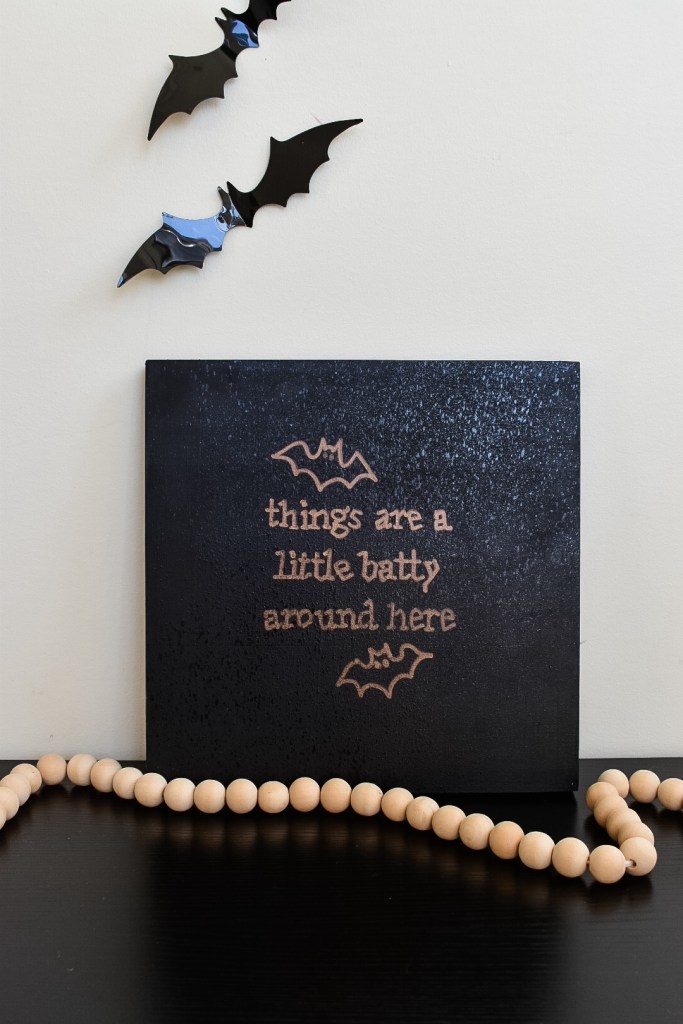
Let this be your sign (pun intended) to make some fall friendly wooden wall signs that are perfect for decorating for Halloween festivities!
You’ll need:
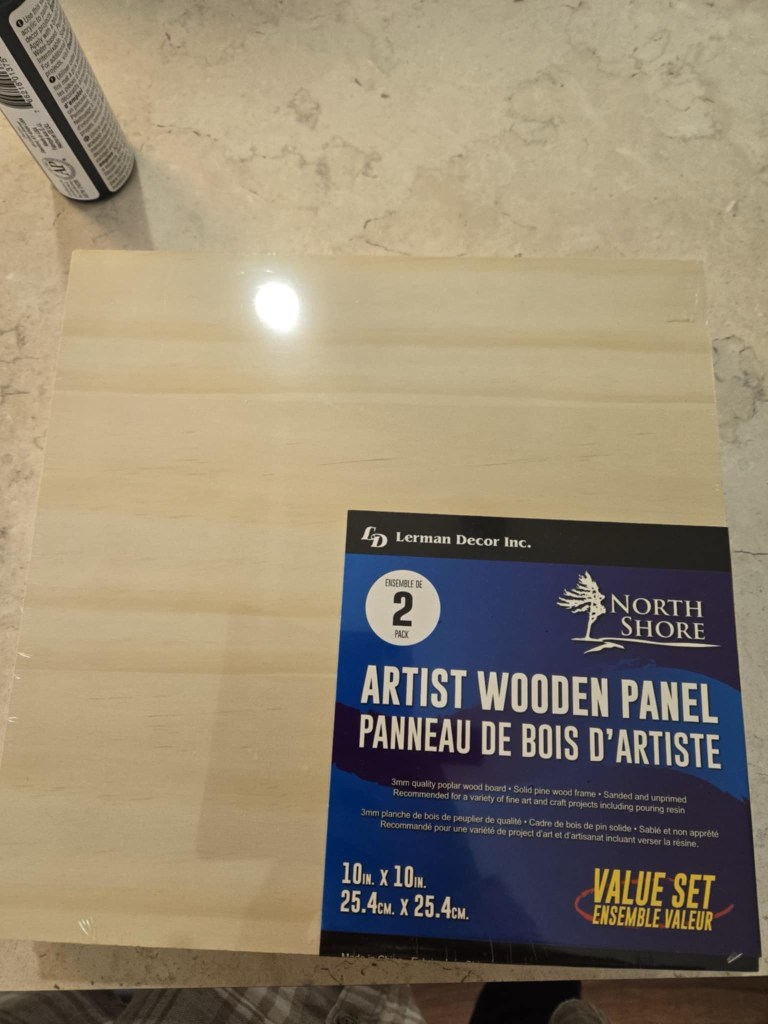
Artist wooden panels
Paint
Sharpies
Pencil
Stencil
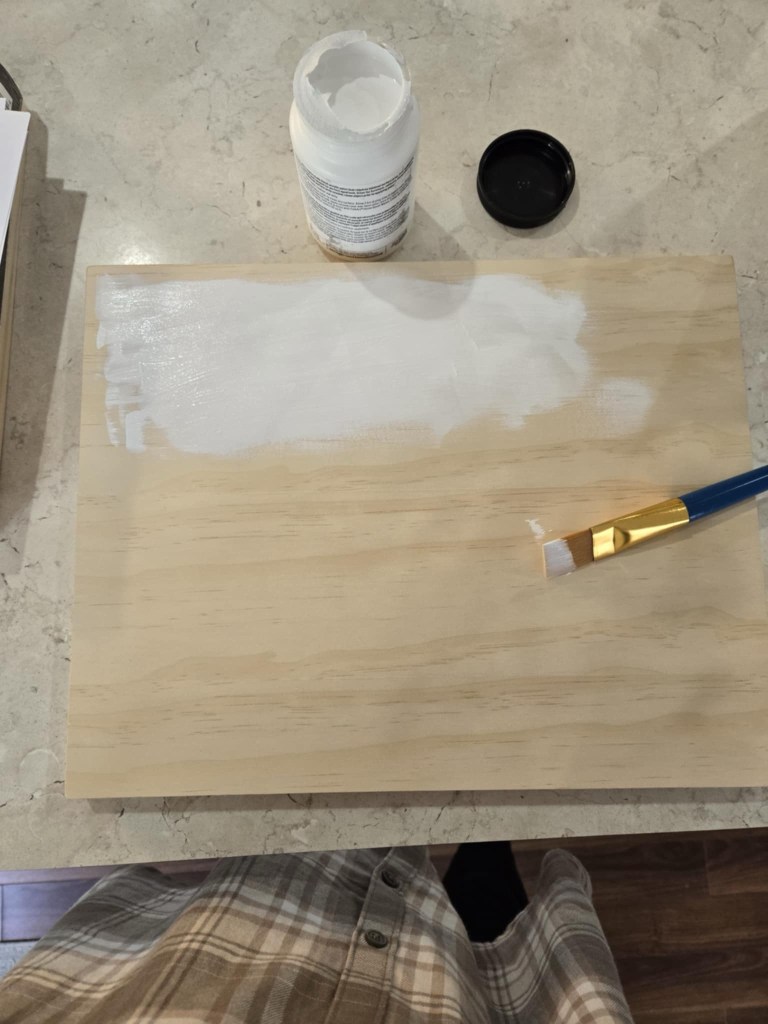
First paint the background colour or keep it in the natural wood tone.
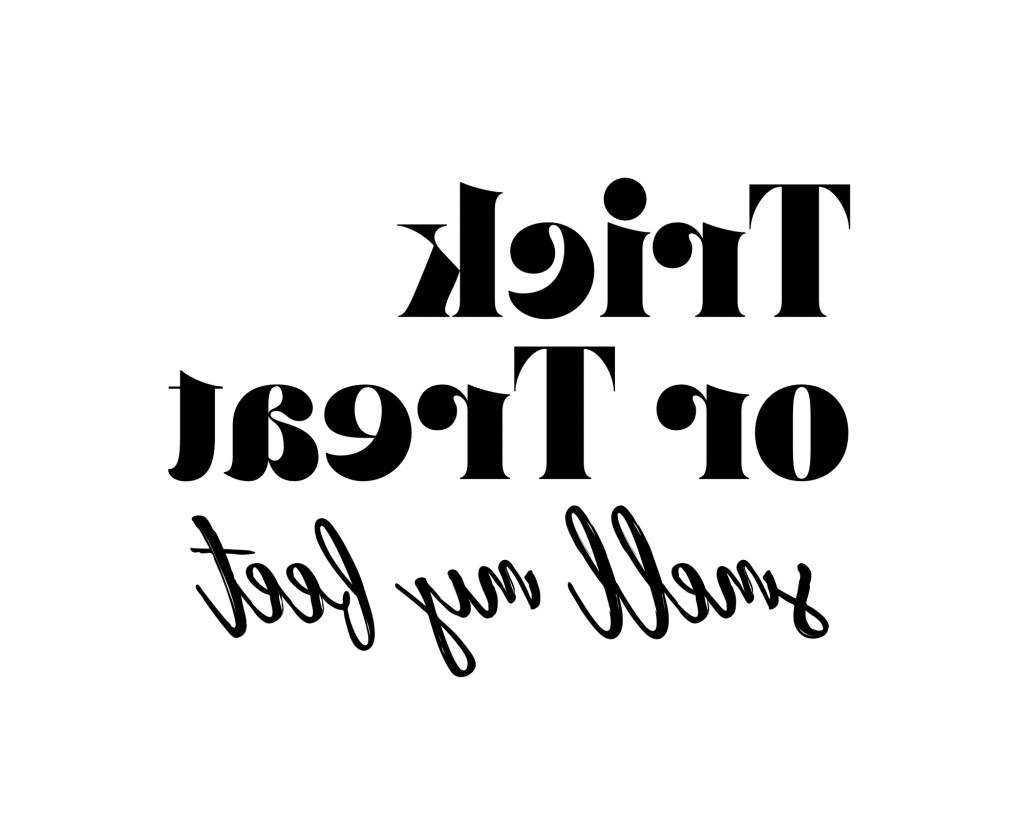
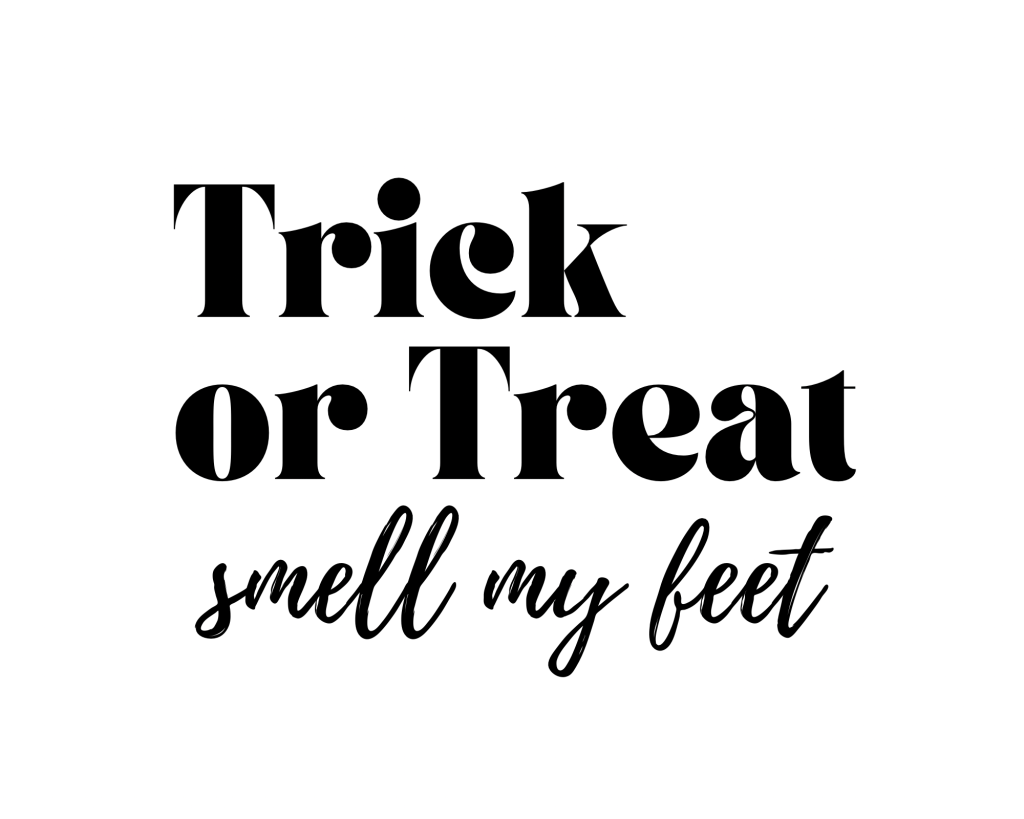
Once dry, print off your stencil. You can do it one of two ways- print off your sheet and on the reverse side pencil the back, then apply to the top of the board. Firmly trace over the letters with a pencil and remove the stencil. You will see a faint outline of your quote that you can go over top of with a sharpie. The second way to do it is print two copies of the stencil- one of them is going to be flipped/reversed so the words are going the opposite direction. Then apply your pencil all over the front/top of the reversed picture. Place that down onto the board so that the blank side is facing up. Print off another copy of the stencil, but this time normally. Put that copy on top of the blank side and trace over the stencil firmly with your pencil. Then remove the stencil and trace over the outline with a sharpie.
This is what I mean by flipping the picture so that the text is reversed…
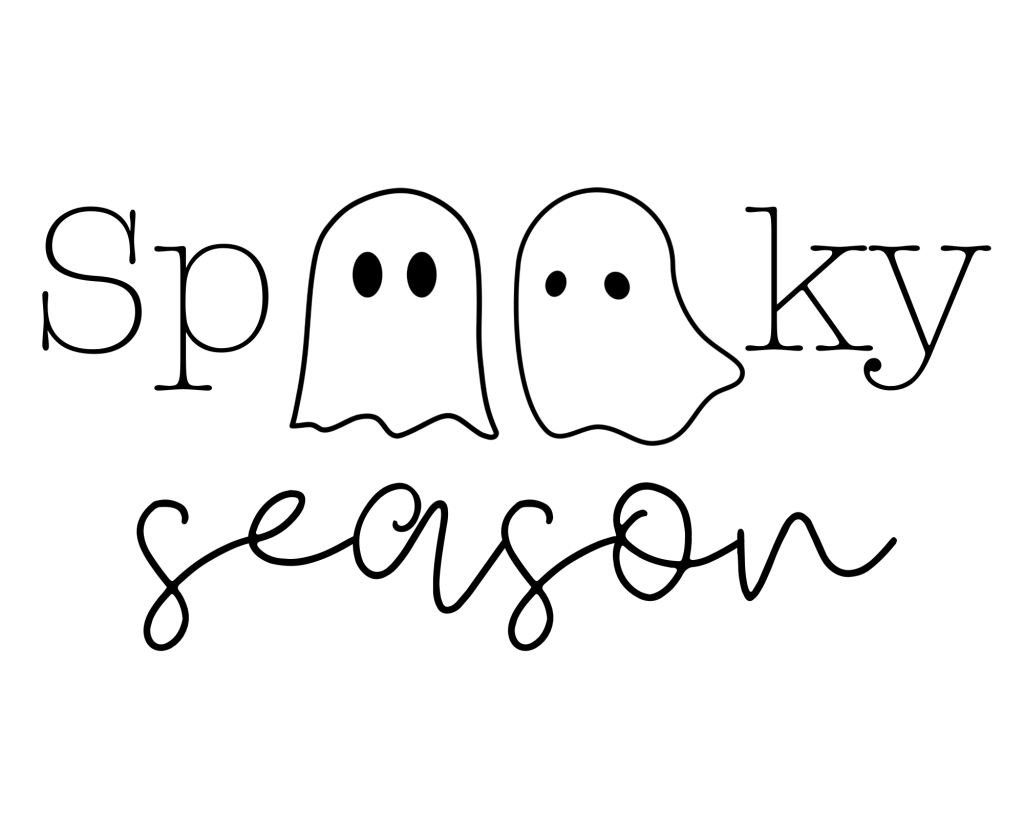
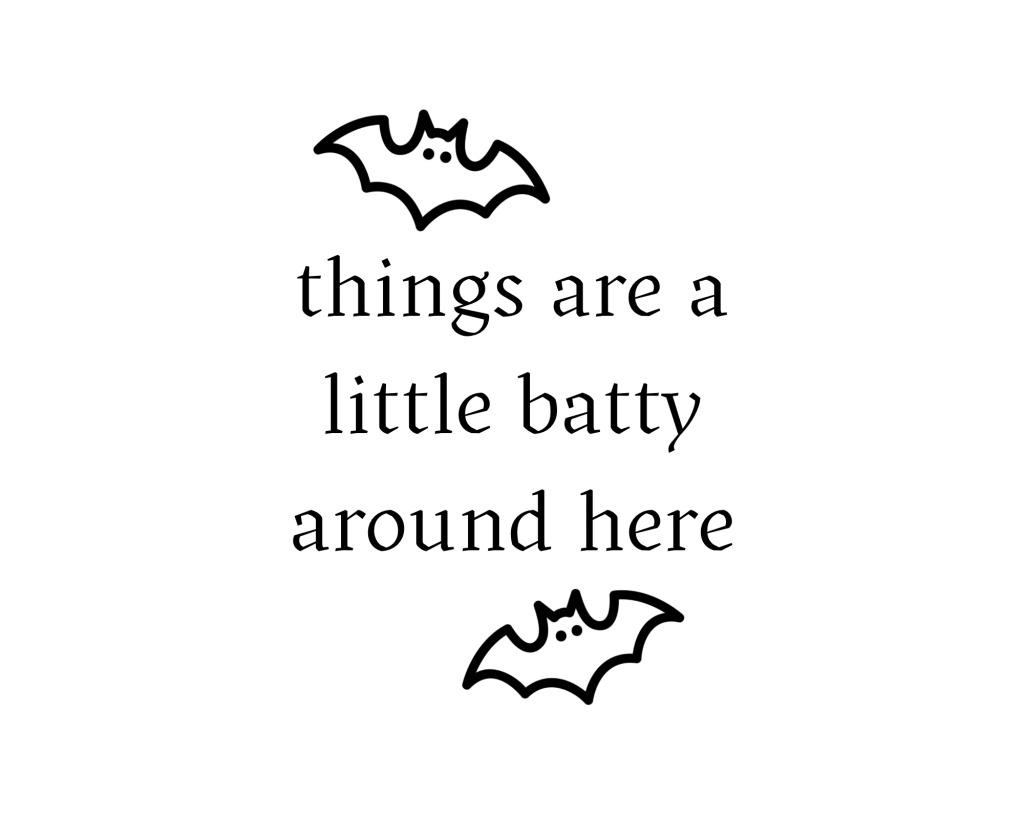
Here are the stencils:
Or try free handing it! I’ve done this before and still love the results! 🦇🤍
Discover more from Josephine Adams | Nestled In Motherhood
Subscribe to get the latest posts sent to your email.
