

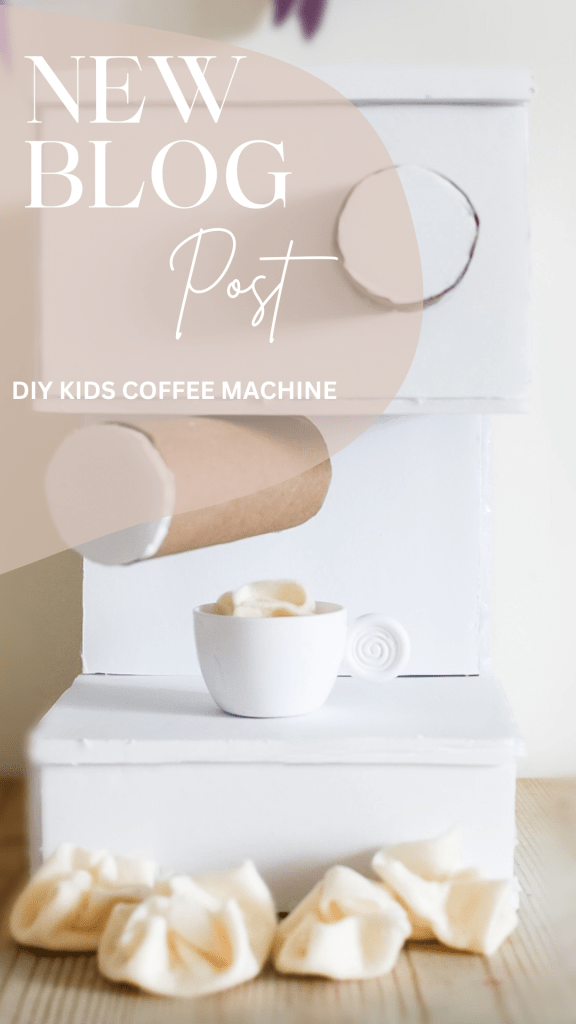
Indulging in imaginative play is a joyous experience for children, and as a parent, I take great pleasure in creating homemade toys for them. Not only does it ignite their creativity, but it also allows me to save money! Today, I’m excited to share a step-by-step guide on how to craft a play coffee machine that will perfectly complement your child’s cafe or play kitchen. Let’s get started!
Supplies Needed:
– Two toilet paper rolls
– Hot glue gun
– Foam core
– Exacto knife and mat
– Felt (optional for the whipped cream)
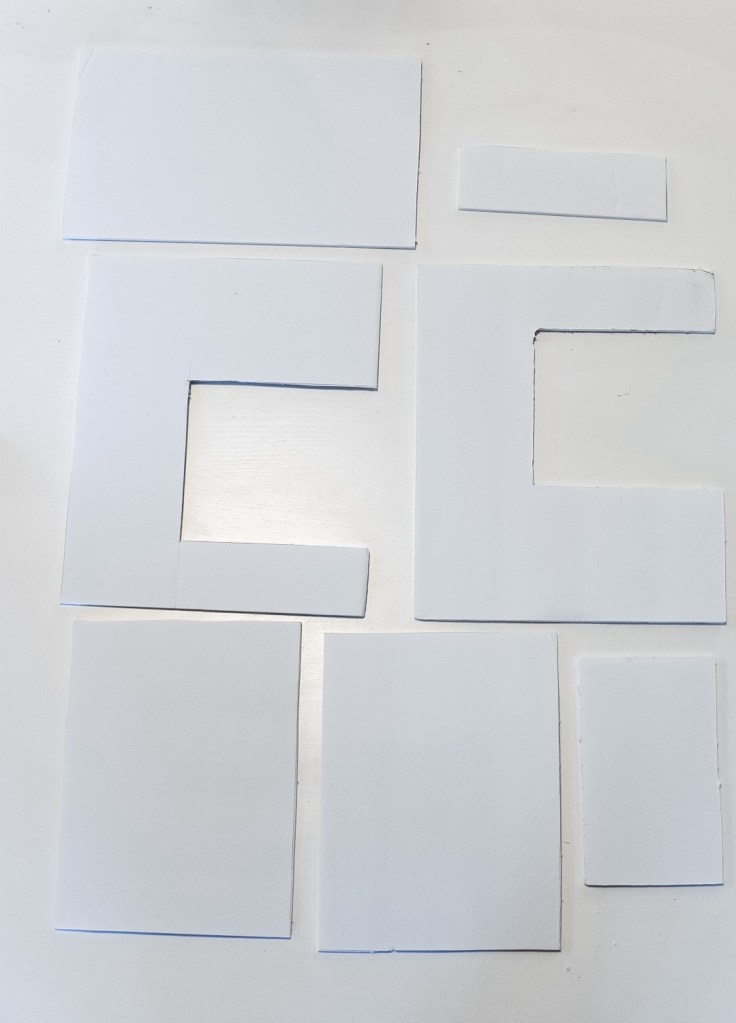
Step 1: Crafting the Main Body
To begin, carefully cut out pieces from foam core and securely glue them together. This forms the foundation of our play coffee machine.
Step 2: Adding Realistic Touches
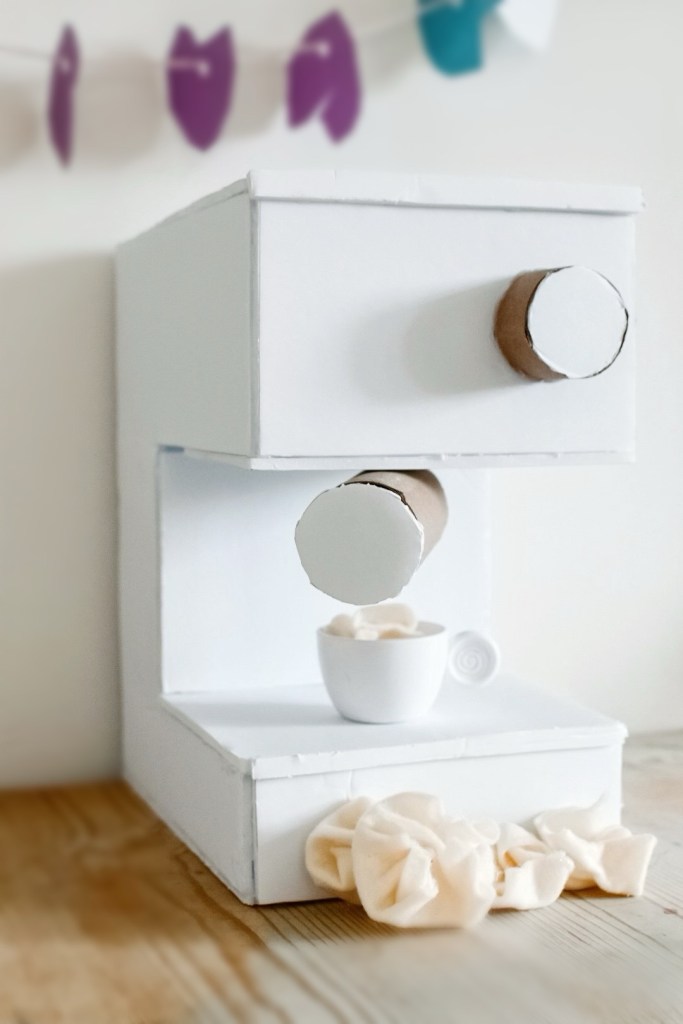
Now, let’s enhance the authenticity of the coffee machine. Attach the toilet paper rolls as the handle and knob, providing your little one with a lifelike experience as they engage in pretend play.
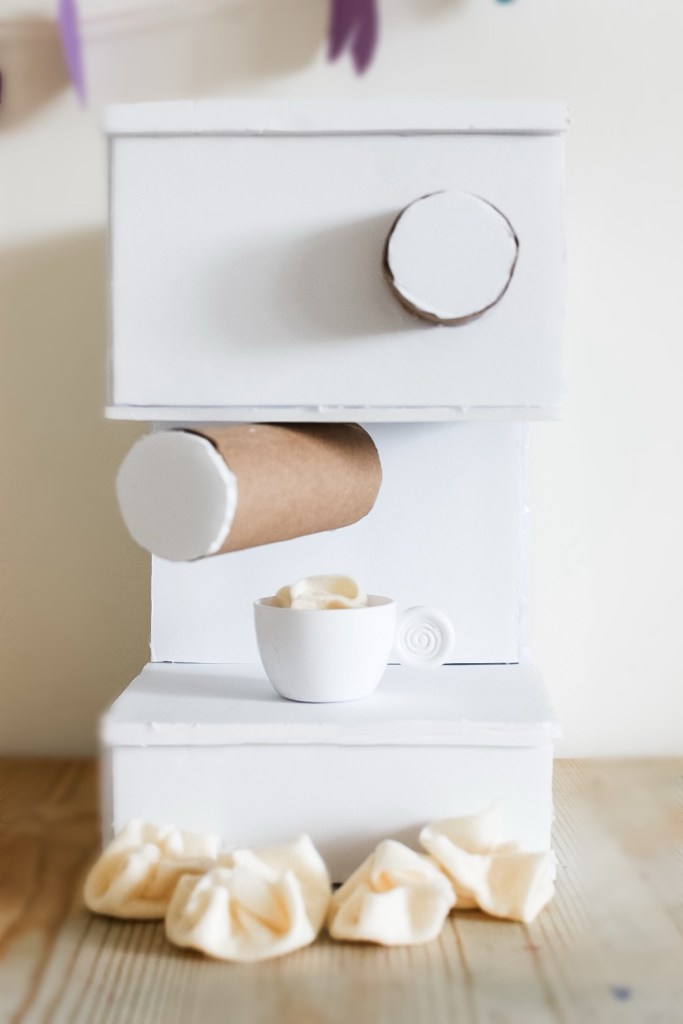
Step 3: Whipped Cream Delight
For an extra touch of realism, we can create whipped cream using felt. Cut square-shaped pieces from the felt, approximately 1 inch by 1 inch in size. Fold each square diagonally to form a triangle, then apply a small amount of hot glue along the folded edge.

You can also personalize the coffee machine by painting it in your child’s favorite colors or adding stickers or decals. Let your creativity run wild and make it unique to your little one’s taste.
Not only is this DIY project fun and easy to make, but it also encourages imaginative play and creativity in your child. They can use their play coffee machine to create their own coffee shop scenarios, practice counting and math skills, or simply enjoy some pretend play with friends.
So why not give it a try? Grab those supplies and get ready to make a DIY play coffee machine that will bring joy and imagination to your child’s playtime.

Discover more from Josephine Adams | Nestled In Motherhood
Subscribe to get the latest posts sent to your email.
